Manage and review journal entry list
The Journal entry list screen enables the users to view journal entries and delete selected records in the system. Users can filter and access entries to locate specific records, but their actions are limited to viewing or deleting only. This outlines the steps to manage journal entry records effectively.
Prerequisites
Before working on the Journal entry list screen, ensure the following prerequisites are met:
- You must configure the Security settings including User type, Security user, Security group, Security assign user, and Security assign permissions in their respective screens to access the Journal entry list screen for reviewing valuation results.
- You must have a valid GL account configured in the GL transactions screen in order to view or review any journal entry records associated with that account.
Procedure to manage and review journal entry records
Follow the steps below to manage and review journal entry records:
Step 1: Navigate to Journal entry list screen
- Log in to the nGenue application.
- Click the Search icon and enter Journal entry list in the search bar.
- Double-click Journal entry list to open the corresponding screen.

-
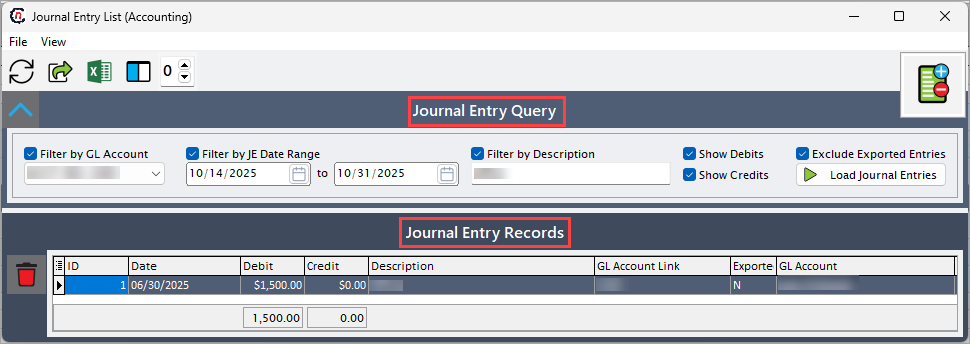
In Journal entry list screen, there are two sections:
- Journal entry query: This section provides filters to fetch journal entries, first enable the desired filters before executing the query.
-
Journal entry records: This section displays the journal entry records based on selected criteria upon executing the query.
Step 2: Review retrieved journal entry records
-
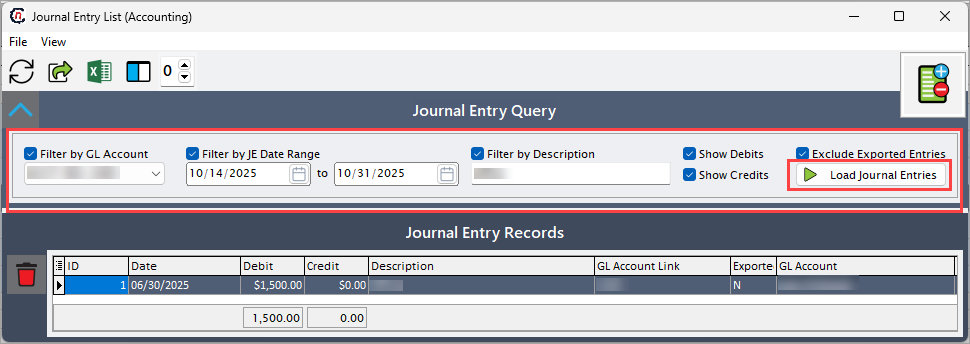
In Journal entry query section, enable the filters and select the required fields before running the query.
Following table provides filterable fields to load journal entries:
Fields Description Filter by GL account Choose a specific GL account to view entries associated only with that account. Filter by JE date range Specify the journal entry date range. Filter by description Provide the description associated with the entry record. Show debits Select this checkbox to include debit entries in the displayed results. If unchecked, debit entries will be hidden. Show credits Select this checkbox to include credit entries in the displayed results. If unchecked, credit entries will be hidden. Exclude exported entries Select this checkbox to exclude journal entries that have already been exported. -
Click on Load journal entries to execute the query and display matching journal entries in the Journal entry records section.
-
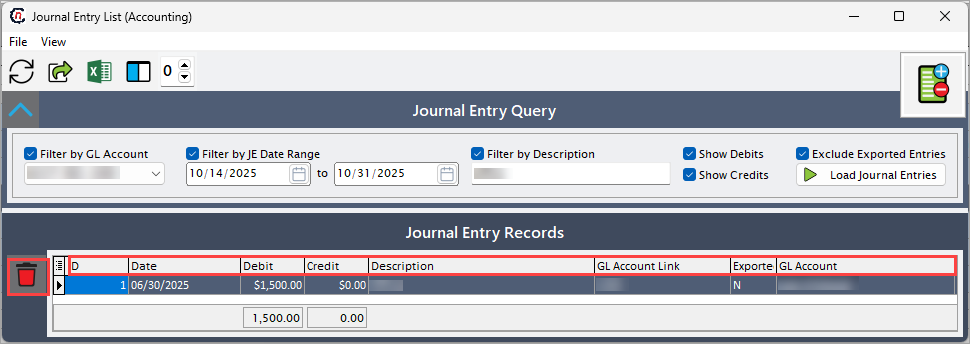
Upon executing the query, journal entries are displayed in the Journal entry records section to review.
Following table provides fields that captures information related to each entry record displayed in this section:
Fields Description ID Specifies the unique identifier for the entry record. Date Specifies the date the journal entry was recorded. Debit Specifies the debit amount associated with the entry. Credit Specifies the credit amount associated with the entry. Description Provides description related to the journal entry. GL account Specifies the GL account linked to the entry. Journal entry type Specifies the type of journal entry. Date exported Specifies the date the entry was exported, if applicable. DR or CR Indicates if the entry is a debit or credit. Export ticket Reference for exported journal entries. Account Specifies the associated account for the transaction. JE amount Indicates the total amount associated with journal entry. JE type str Specifies the string indicating the journal entry type.
Step 3: To delete the journal entry record
- Select the journal entry record from the Journal entry records section.
-
Click Delete icon to remove the selected journal entry from the displayed records.
Summary
Following these above steps, you can efficiently manage and review journal entry records as needed. It also helps maintain accurate, up-to-date journal data within the system.