Configure security group
The Security group screen allows administrators to create, manage, and configure user groups in the nGenue application. Security groups help in organizing users with similar roles or access requirements, making it easier to assign permissions and manage system access efficiently. Each security group can contain multiple users, and you can view assigned users in the Users tab for reference.
The following table lists the icons available in the Security group screen and their respective functions:
| Icons | Icons name | Description |
|---|---|---|
| Add a user group record | Creates a new user group record. | |
| Edit current users group | Opens the selected user group record for editing. | |
| Save changes to current users group | Saves the changes made to the current user group record. | |
| Cancel changes to user group record | Discards any unsaved changes to the current user group record. | |
| Delete current user group record | Permanently deletes the selected user group record. |
Prerequisites
Before working on the Security group screen, ensure the following prerequisites are met:
- Ensure the nGenue application is installed and use valid login credentials to log into the application.
Procedure to add a security group
Step 1: Navigate to Security group - configuration screen
- Log in to the nGenue application.
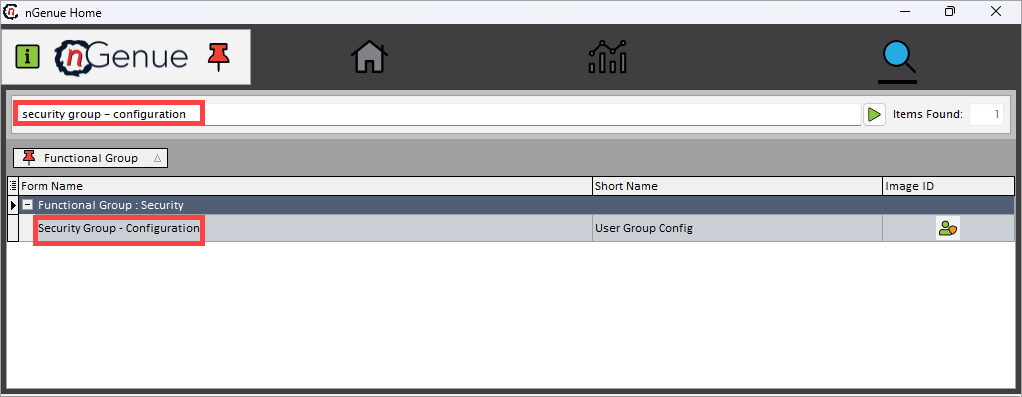
- Click the Search icon and enter security group - configuration in the search bar.
-
Double-click Security group - configuration to open the corresponding screen.
-
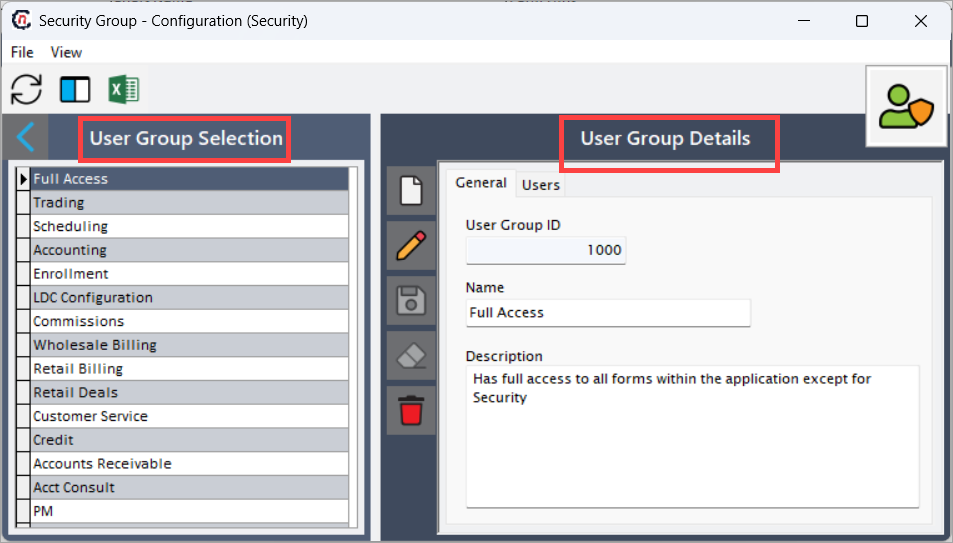
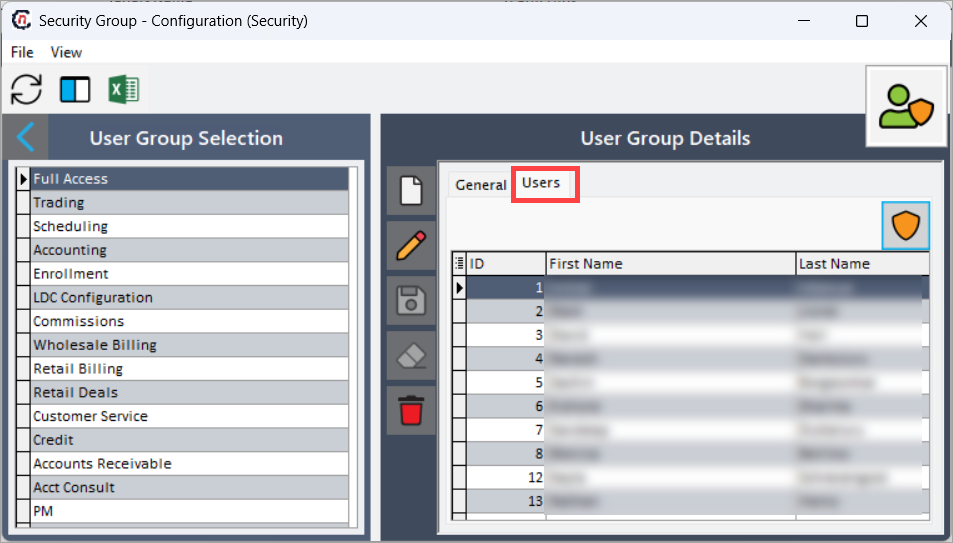
The screen consists of two sections:
- User group selection: Displays existing user groups in the system.
-
User group details: Allows you to add, modify, or delete user groups. This section has two tabs: General and Users.
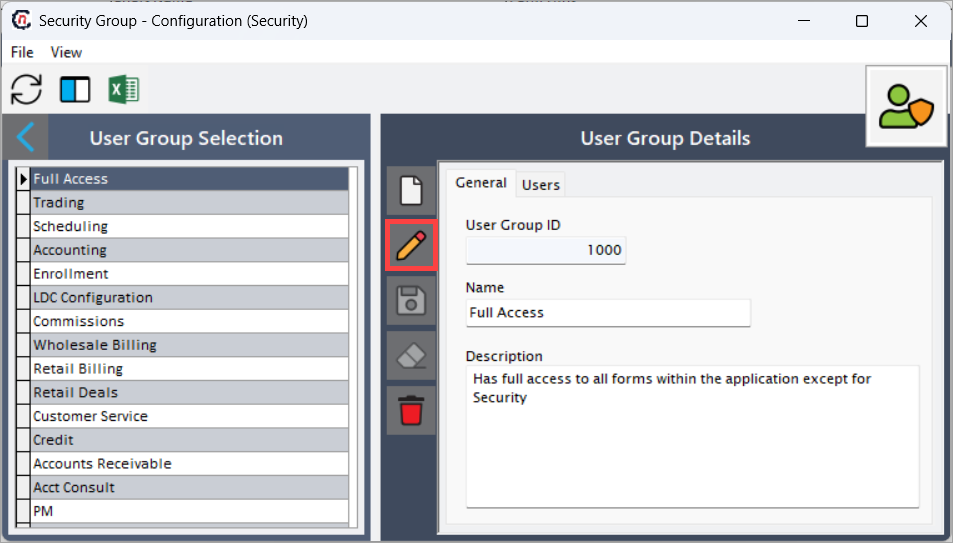
Step 2: Add a security group
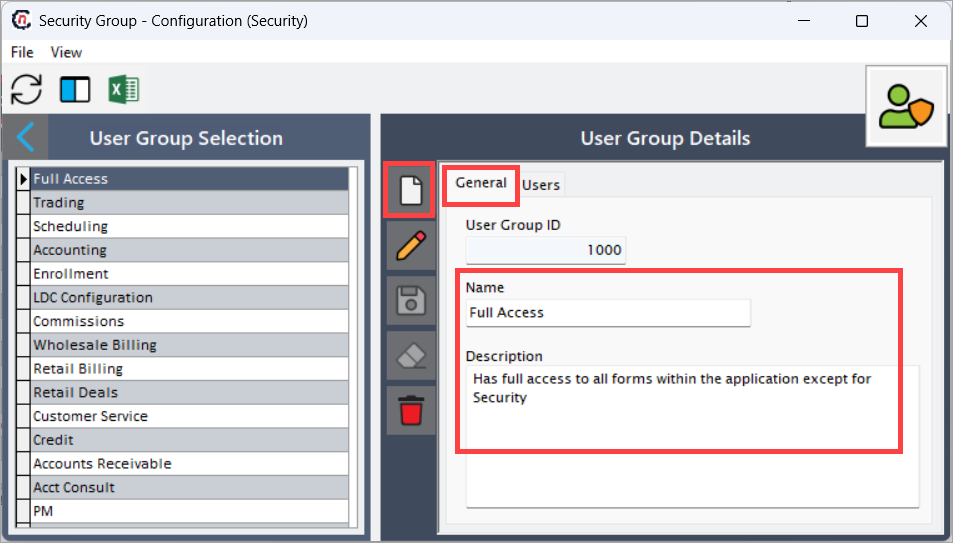
- In the User group details section under the General tab, click the Add a user group record icon.
-
Enter the group name in the Name field and provide a description.
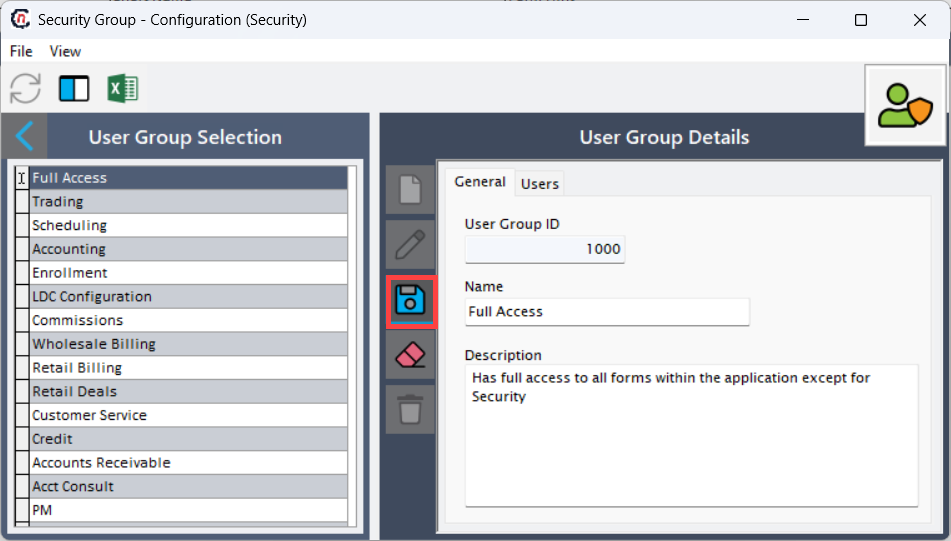
-
Click the Save changes to current users group icon to configure the user group.
-
The Users tab displays a read-only list of users assigned to the security group configured in the Security group – assign users screen. It helps verify which users belong to the selected group.
Step 3: Edit a security group (optional)
- In the Security group - configuration screen, from the User group selection list select the user group you want to edit.
- Click the Edit current users group icon.
- Modify the group details, such as Name or Description, as needed.
-
Click the Save changes to current users group icon to save the updates.
-
Click the Cancel changes to user group record icon to discard the changes.

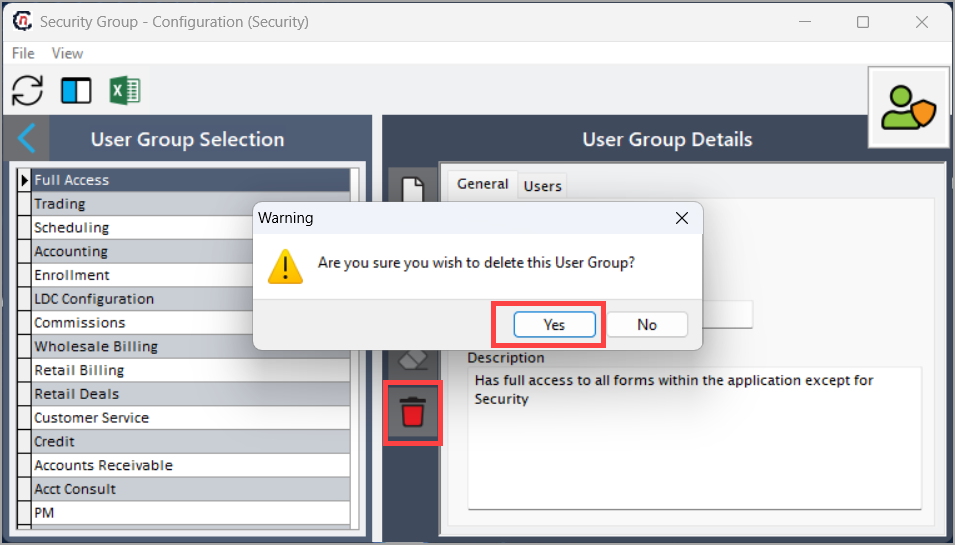
Step 4: Delete a security group (optional)
- In the Security group - configuration screen, from the User group selection list select the user group you want to delete.
- Click the Delete current user group record icon.
-
Click Yes to confirm the deletion.
Summary
The Security group screen allows administrators to efficiently manage collections of users with similar roles or access requirements. By following the outlined procedures, you can create, edit, and delete security groups, assign descriptive names, and reference assigned users to ensure proper system access and role management across the nGenue application.